Setting up a bioreactor is not as easy as it sometimes sounds. Which sensors do I have to calibrate before autoclaving? Is it important to protect the filters with foil from water condensate in the autoclave? These are only some questions which arise when preparing a bioreactor for its next cultivation run. This blog post will guide you through the assembly of a bioreactor step by step and provide practical help for successfully starting a bioprocess.
The following chapters describe all the preparatory work necessary before starting the cultivation process in a standard bench-top bioreactor. This comprises:
- Setting up the culture vessel
- Installation and calibration of sensors
- Autoclaving the bioreactor vessel
- Adding media and preparing for cultivation
- Inoculation of the bioreactor
- Bioprocess control
- After the bioprocess
1. Setting up the culture vessel
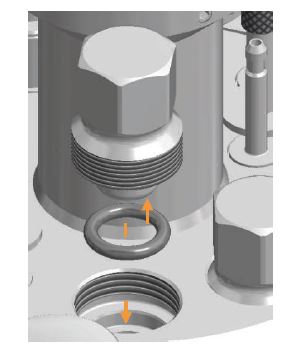
Schematic illustration of an O-ring sealing a port on the bioreactor top plate.
Before we get down to the nitty-gritty, the most important thing to do is check the culture vessel itself. Make sure that the culture vessel is undamaged and that all of its O-rings and vessel seal are positioned properly and intact – otherwise the vessel could get contaminated after autoclaving. This would disrupt the process. and ruin your day. In addition, you must make sure you have installed, connected, and secured all sensors, gas inputs, corrective reagents and ports for sampling or cell harvesting, as dictated by the process needs. Once the bioreactor has been autoclaved, any changes made have to be performed carefully using a sterile cabinet.
Here some helpful tips to ensure successful culture vessel preparation:
- Check the installation height of the impellers and make sure they are securely fastened to the drive shaft. To avoid unnecessary foam formation, do not fit the impeller at the same height as the surface of the medium.
- Insert the baffles if the planned process requires them.
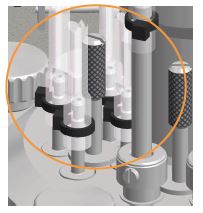
- Check the O-ring seal of the top plate to make sure it is undamaged and positioned correctly.
- Inspect the O-rings of all components installed on the top plate, regardless of whether these are inlets, sensors or plugs.
- Check the installation height of all adjustable-height fittings such as immersion pipes and ensure they are positioned correctly. The sparger should be immediately below the drive shaft.
- If applicable, fill the vessel with heat-stable culture medium or water (approx. 10 mL of water per litre of total volume) to ensure steam development and successful sterilization.
- Put the top plate on carefully and align it correctly. Be careful to make sure that the installed parts and baffles are not touching each other.
- Tighten knurled screws firmly by hand (no tool).
2. Installation and calibration of sensors
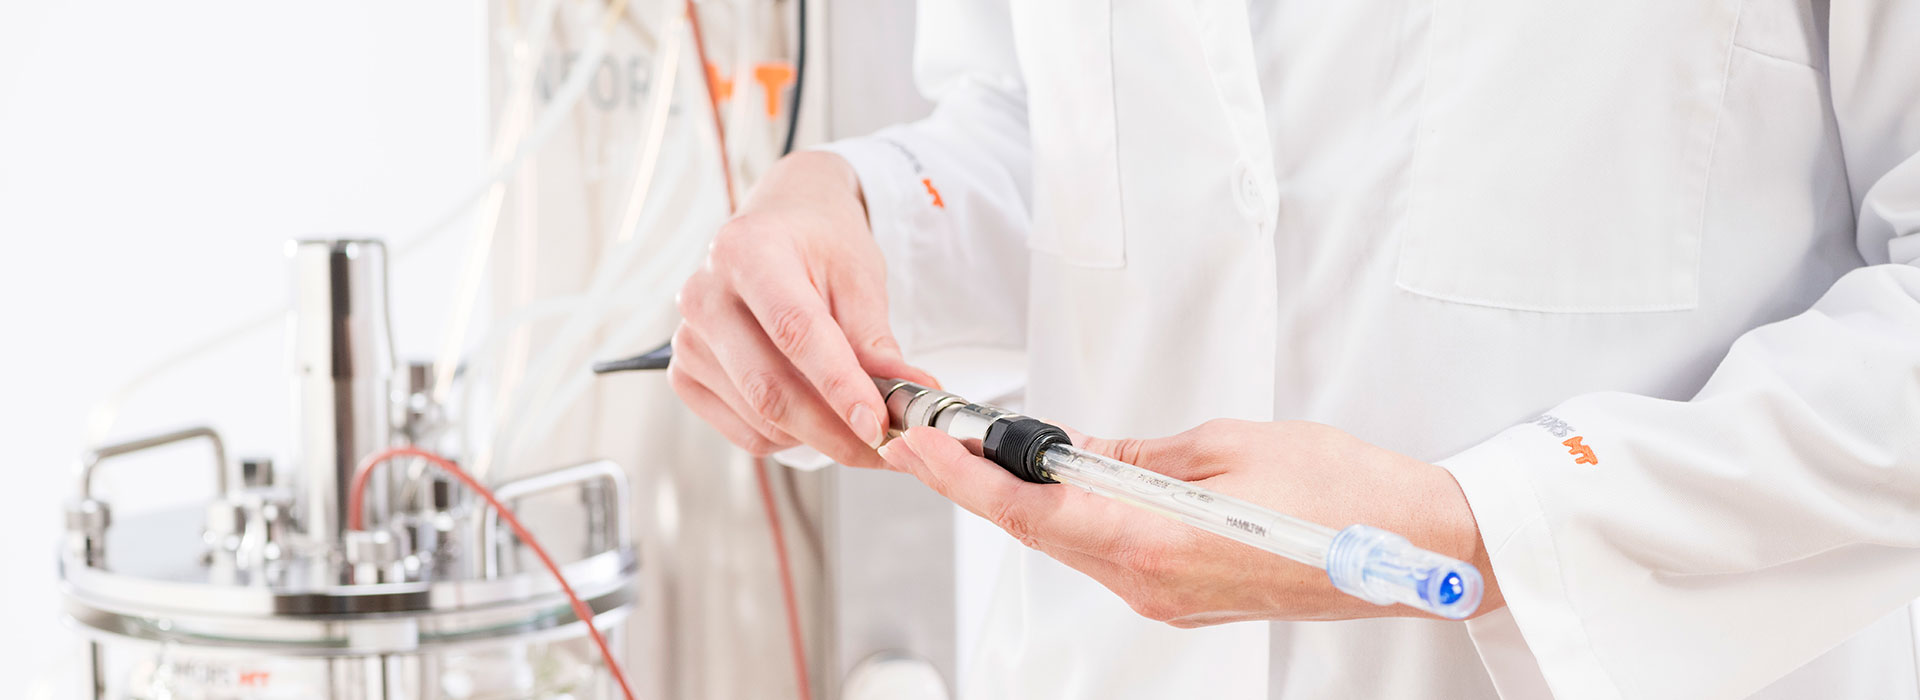
After all mechanical components are secured and the top plate is closed, the ports for the sensors are still open. They are typically installed last, since they are more susceptible to mechanical damage. The sensors also have to be calibrated prior to the process. Laboratories often have standard instructions for these steps and they can differ in their details. Generally, calibrate the pH sensors prior to installation and before autoclaving much the same way you would calibrate an ordinary pH-meter. Use two reference buffers, covering the expected range of operation e.g. pH 4 and pH 7. Do not calibrate the pO2 and optional turbidity sensors, until after autoclaving and dispensing of the culture medium, since both parameters are dependent on the actual operating conditions. For other sensors please follow the manufacturer’s manual.
Steps:
- Install the pO2 sensor in the bioreactor.
- Optional: Install the turbidity sensor in the bioreactor.
- Connect the pH sensor to the base unit, call up the calibration function at the operating unit, and calibrate the pH sensor at the control unit according to the instructions.
- Separate the pH sensor from the base unit and install it in the bioreactor.
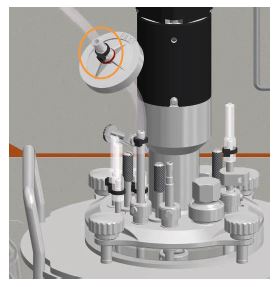
3. Autoclaving the bioreactor
Secured connection of silicone hoses for acid, base and feed.
Preparations for autoclaving consist of simple but vitally important steps:
- Prepare the adjustment agent bottles. Note: Not all corrective reagents can be sterilized in the autoclave. Instead of adding these kind of adjustment agents (ammonia solution, etc.), fill those with water and, after autoclaving (in a sterile work cabinet) replace the water with a filter-sterilized corrective reagent. This also applies to many substrate feeds, which can caramelize if heated.
- Take the mounting plate for the pump heads, loosen it from the base unit and attach it to the vessel holder.
- Connect the tubing from the reagent bottles to the pump heads and then to the feeding needles on the lid; secure the connections.
- Connect the Super Safe Sampler to the sampling pipe, clamp it off and cover it with aluminium foil.
- Connect the air filter(s) if this has not been done already.
- If applicable, connect any additional tubes (for cell harvesting, etc.) and clamp them off.
- Cover the filter lightly with aluminium foil. Leave the exhaust filter open and do not clamp it off under any circumstances! This is essential for balancing the pressure during autoclaving.
Take the prepared culture vessel in the culture vessel holder, including all the connected peripherals such as reagent bottles, and autoclave it according to your standard operating procedure (ex.:121 °C for 20 to 30 minutes).
4. Adding media and preparing for cultivation
The culture vessel is now almost ready for the bioprocess. All you have to do now is connect it to the base unit, possibly fill it with culture medium, and calibrate the final sensors.
Inlet air filter for 1.5 L culture vessels for microbial applications.
Steps:
- Position the culture vessel holder on the base unit. Depending on the design of the bioreactor, you may need to connect temperature control tubing via the double jacket or install the heating mat. Please follow the instructions in the appropriate manual.
- Place the pump head mounting plate on the pump motor shafts.
- Fill the corrective reagent tubes. If the tubes are not filled with the appropriate reagent, the control unit may malfunction, because it will initially feed air into the culture vessel instead of liquid reagent.
- Connect the foam, pH, pO2 and turbidity sensors.
- Insert the temperature sensor into the thermo-well on the top plate. Push down until you hear metal-to-metal contact.
- Mount the motor, ensuring it locates with any locating pins on the drive hub.
- Connect the gas lines and the exit gas cooler. For head space gassing, often used for cell culture, also connect this gas line.
- If not autoclaved inside the culture vessel, dispense the culture medium using a sterile filling process.
- Start the bioreactor and turn on the stirrer and temperature control, each set to the desired target values.
- As soon as the target values are reached, you may need to re-adjust the pH sensor or adjust the pH of the culture medium, calibrate the pO2 sensor, and perform a zero-point calibration of the turbidity sensor.
5. Inoculation of the bioreactor
Now you have everything ready for inoculation i.e. adding the microorganisms or cells. As for most bioprocesses, the precise procedure depends, again, on the individual case. The most common steps are described below.
Steps:
- Run a blank culture medium sample containing no cells for up to 24 hours to let conditions in the vessel equilibrate.
- Prepare the inoculum (e.g. from a shake flask pre-culture in an incubation shaker) and place it in a suitable vessel for inoculation. For microbial bioprocesses, a simple method of introducing the cells into the culture medium is to use a syringe with a needle that can pierce the membrane in the inoculation port. It can help here to disinfect the membrane with an alcohol solution or to work in the vicinity of a flame. However, you will never have a 100% guarantee against contamination. For cell culture preparations, by contrast, the risk of contamination is larger and the inoculum is introduced via a sterile tubing connection that is either made in a sterile cabinet or be created at the bioreactor locally (for example using a tube welding machine).
- If available, press the button on the bioreactor or in the SCADA software to signal that you have inoculated the bioreactor. This will start the bioprocess (and any previously programmed bioprocess strategy).

6. Bioprocess control
We’ve done a lot of prep work for our bioprocess, but there are still things we need to think through. Good planning is already half the battle. To this end, you need a few pieces of basic knowledge about growth so that you can ultimately carry out the bioprocess as you had originally planned. Once again, design follows the requirements, which is why you should know what the goal of the bioprocess is.
In general, the growth of microorganisms is limited as soon as an essential factor becomes limiting. For example, if the growth rate is limited by insufficient oxygen, then it will increase again if more oxygen is provided due to changed process management, until the same (or another) factor has a limiting effect. Selecting the right process strategy allows you to optimize the design of a bioprocess, while maximizing efficiency in terms of product and time. If you’d like to find out more about the different feeding strategies have a look at our blog-post: The Difference Between Batch, Fed-batch and Continuous Processes.
7. After the bioprocess
After the end of the bioprocess you have to decontaminate and clean the bioreactor for the next cultivation. Different institutions have different protocols on how to kill the organisms. This can be done by autoclaving the culture vessel and then disposing the culture broth, which usually involves a more complex cleaning process for the vessel and the peripheral equipment afterwards. Alternatively, you can also kill the harvested culture broth separately. Decontaminate and clean the bioreactor and the surfaces of the peripherals that came into contact with the organisms.
In conclusion, to set up a bioreactor with the aim of successful cultivation without contamination is not easy. Therefore, bioreactor manufacturers optimize and reduce the steps needed to start your bioprocess as quickly and simply as possible. We hope that the information presented here helps in speeding up this process. We wish you all the best for your next bioreactor set up.
Teltherm Instruments Ltd
Setting up a bioreactor can be a complex process, but this article simplifies it beautifully! The step-by-step guide and the emphasis on important parameters make it an invaluable resource for researchers and professionals in biotechnology. I'm impressed by the clarity and attention to detail in the instructions. Bioreactors play a crucial role in various industries, and with the help of articles like this, we can confidently advance our bioprocesses and achieve better results!
Bob Smith
It would be good to discuss pumps, specific pump tubings, and dilution rates